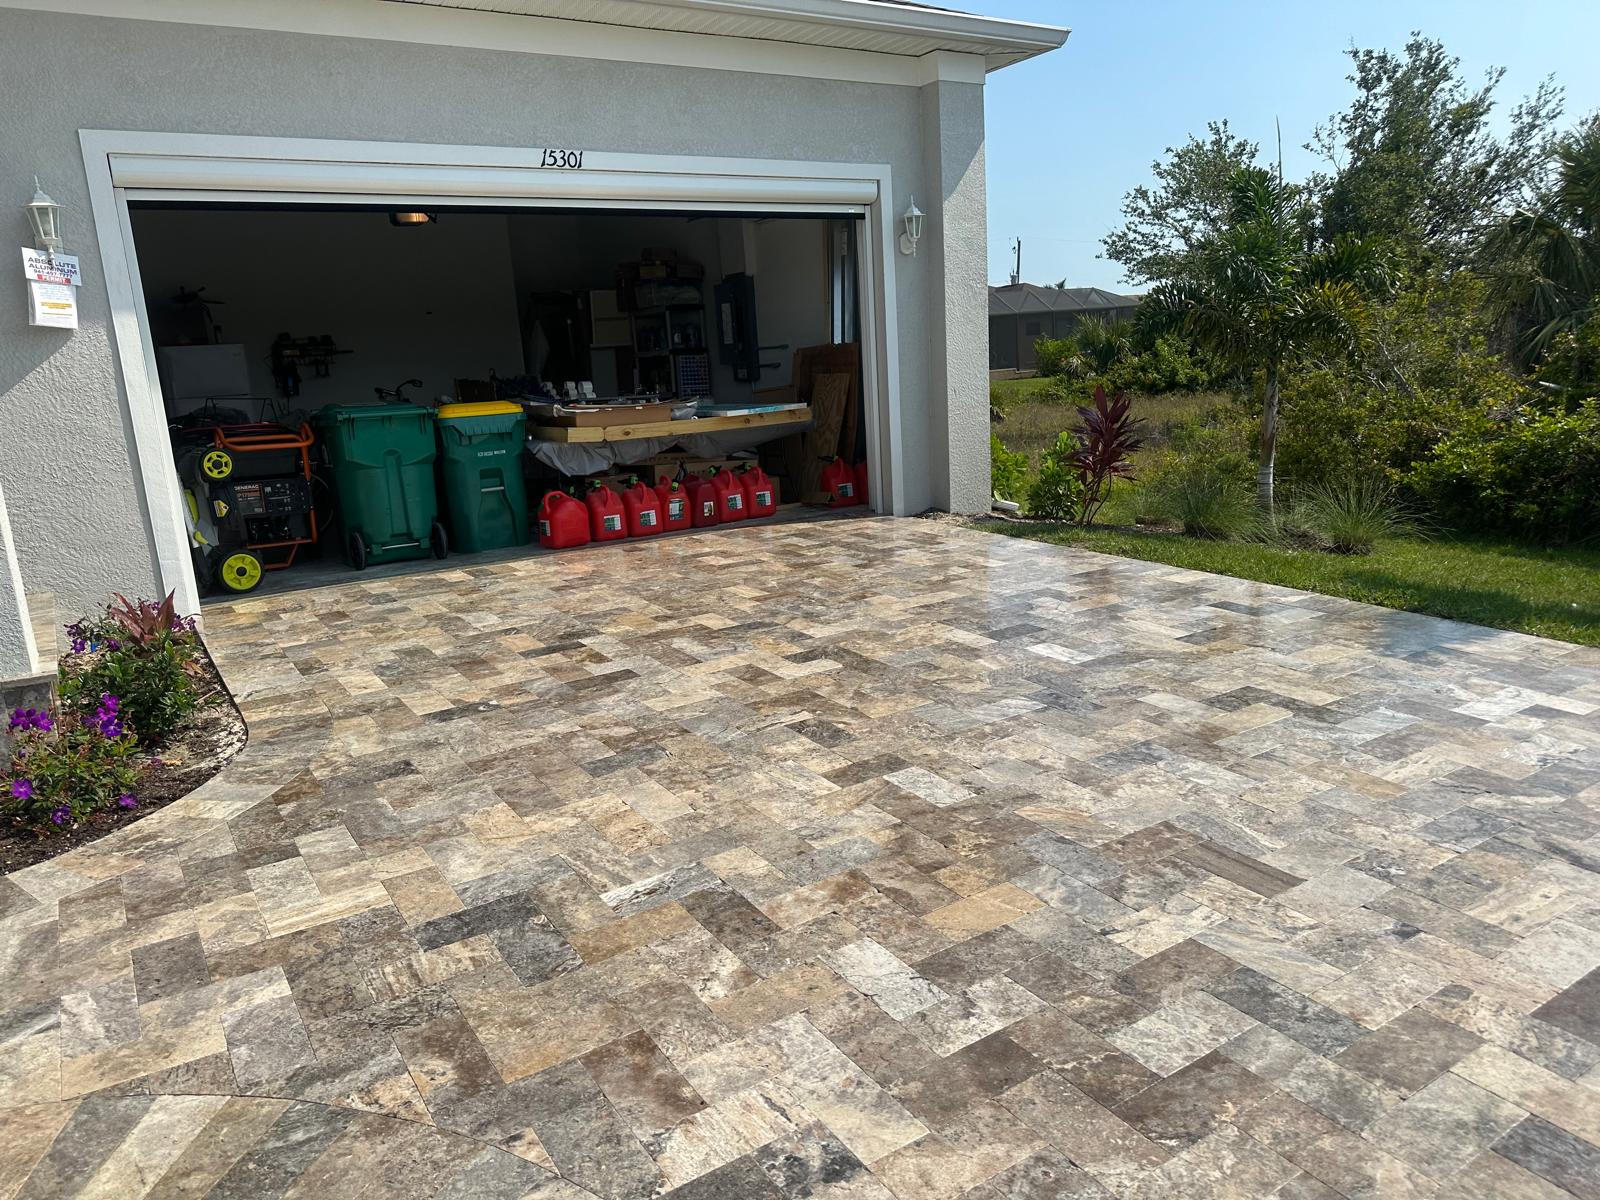
Understanding the professional paver installation process helps you appreciate the craftsmanship behind every beautiful paver project. At Pavers As Art LLC, we follow a meticulous 8-step process that ensures your pavers will look stunning and last for decades. Let's take you behind the scenes of a professional installation.
Why Professional Installation Matters
While DIY paver installation might seem tempting, professional installation is crucial for long-term success. Improper installation can lead to settling, cracking, weed growth, and premature failure. Our professional process ensures your investment is protected and your pavers perform beautifully for years to come.
Common DIY Installation Problems:
- • Inadequate Base Preparation: Leading to settling and uneven surfaces
- • Poor Drainage: Causing water damage and erosion
- • Incorrect Sand Levels: Resulting in loose or shifting pavers
- • Missing Edge Restraints: Allowing pavers to spread and separate
The 8-Step Professional Installation Process
Site Assessment & Planning
Every successful project begins with thorough site assessment. We evaluate soil conditions, drainage patterns, existing structures, and utility locations. This critical step allows us to identify potential challenges and develop the optimal installation plan for your specific site.
What We Assess:
- • Soil composition and stability
- • Natural drainage and water flow
- • Underground utilities and obstacles
- • Existing landscape features
- • Access points for equipment and materials
Excavation & Site Preparation
Proper excavation is the foundation of a successful paver installation. We carefully remove existing materials and excavate to the precise depth required for your specific application. The excavation depth varies based on the intended use - driveways require deeper excavation than walkways.
Typical Excavation Depths:
- • Walkways: 8-10 inches
- • Patios: 10-12 inches
- • Driveways: 12-14 inches
- • Pool decks: 10-12 inches
Excavation Process:
- • Mark utility lines for safety
- • Remove existing materials
- • Excavate to proper depth
- • Grade for proper drainage
Base Material Installation
The base layer is critical for long-term stability. We install a carefully graded aggregate base material, typically crushed stone or gravel, in lifts of 2-3 inches. Each lift is thoroughly compacted using professional-grade equipment to achieve optimal density and stability.
Base Material Specifications:
- • Material: #57 crushed stone or approved equivalent
- • Compaction: 95% standard proctor density minimum
- • Thickness: 4-8 inches depending on application
- • Grade: 2% slope for proper drainage
Edge Restraint Installation
Edge restraints are essential for preventing paver movement and maintaining pattern integrity. We install professional-grade edge restraints around the perimeter of the paved area, securing them with spikes driven deep into the base material.
Edge Restraint Options:
- • Plastic Edge Restraints: Flexible, cost-effective for curves
- • Aluminum Edge Restraints: Durable, professional appearance
- • Concrete Edge Restraints: Maximum strength for heavy-duty applications
- • Natural Stone Borders: Decorative and functional
Bedding Sand Preparation
The bedding sand layer provides the final leveling surface for paver installation. We use concrete sand (not masonry sand) and screed it to a uniform 1-inch thickness using precision screed rails. This creates the perfect foundation for precise paver placement.
Bedding Sand Requirements:
- • Type: Concrete sand (angular particles for stability)
- • Thickness: 1 inch uniform depth
- • Moisture: Slightly damp for workability
- • Compaction: Never compact before paver installation
Paver Installation
This is where artistry meets precision. Our skilled craftsmen carefully place each paver according to the chosen pattern, maintaining consistent joint spacing and alignment. We work systematically from one corner, never walking on the prepared sand bed.
Installation Techniques:
- • Start from a straight edge or corner
- • Maintain consistent joint spacing
- • Check alignment frequently
- • Handle pavers carefully to prevent damage
Quality Control:
- • String lines for straight edges
- • Level checks every few rows
- • Pattern verification
- • Joint consistency monitoring
Cutting & Fitting
Professional cutting ensures perfect fits around obstacles and at edges. We use diamond-blade wet saws for precise, clean cuts that maintain the integrity of the pavers. Proper cutting techniques prevent chipping and ensure professional-looking results.
Cutting Best Practices:
- • Use diamond-blade wet saws for clean cuts
- • Measure twice, cut once
- • Support pavers properly during cutting
- • Smooth rough edges after cutting
- • Plan cuts to minimize waste
Compaction & Joint Sand
The final step locks everything together. We compact the pavers using a plate compactor with a protective pad, then sweep fine joint sand into all gaps. Multiple passes of compaction and sand application ensure complete joint filling and optimal interlock.
Final Compaction Process:
- • Initial Compaction: Light pass to seat pavers
- • Sand Application: Sweep joint sand into gaps
- • Final Compaction: Multiple passes for full interlock
- • Excess Sand Removal: Clean surface completely
Quality Assurance & Warranty
At Pavers As Art LLC, we stand behind our work with comprehensive warranties and quality assurance measures. Every installation is inspected at multiple stages to ensure it meets our exacting standards and industry best practices.
Installation Warranty
We provide comprehensive warranties on both materials and workmanship, giving you peace of mind for years to come.
Quality Inspections
Multiple quality checkpoints throughout the installation process ensure every detail meets our standards.
Experience Professional Installation
Don't trust your paver investment to inexperienced installers. Our professional team has completed hundreds of installations across Southwest Florida, and we're ready to bring that expertise to your project.
